Craftmanship
The craftsmanship is the single most important factor in creating superior leather goods. In context of Malton & Kielman bags and accessories, each of our craftsmen has a devoted passion for creating leather goods and has been specially trained in our techniques and for our quality requirements. Learning the techniques of proper leather crafting takes several years and needs lots of practise. When working with leathers, a single mistake can lead to miserable consequences that can not be redone or repaired. Therefore, all activities requires knowledge and full focus.
To create a bespoke bag or briefcase takes about a week. Adding the time needed to choose and find the right materials and letting paints and glues to dry, the time extends to about two weeks. The total lead time of a bespoke project is normally 4-6 weeks. To find out more about the process of ordering bespoke, click here.
The following 17 activities below are accomplished to a typical Malton & Kielman bespoke bag.
1) Design and creating sketches
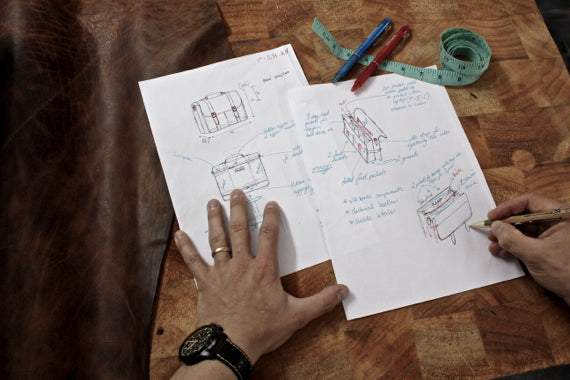
The customer decides on the design and the features and may advise our designer for ideas. As the idea of a project takes form, intended leathers and materials should be considered at the earliest stage to make sure that they fit the project and the techniques used for realising it.
2) Choosing materials
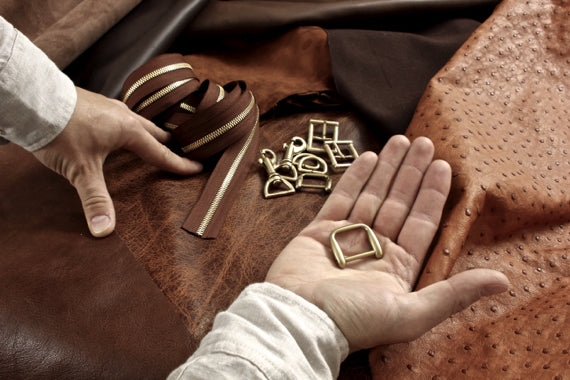
Leathers and materials are also the choice of the customer, however the designer can suggest interesting options from our stock or look for occasional one-of-a-kind leathers. Both the salesman and the designer must have a broad understanding for leathers and materials and how they can be used to ensure that it will fit the project. The design and materials are being forwarded to the workshop, where the chosen leathers and techniques always are being discussed with an experienced craftsman.
3) Hardware
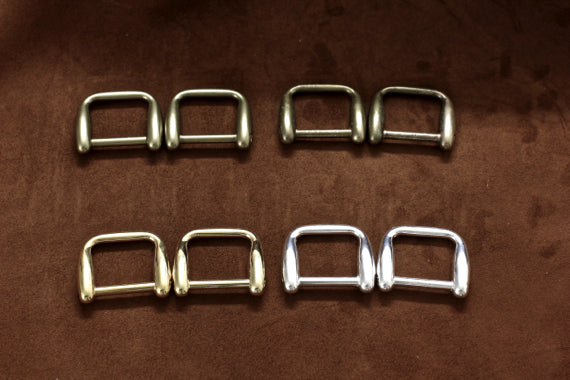
The hardware refers to all metal components used. We use solid brass components only. As an option to the classical brass finish, the customer can choose antique brass, gold plating or authentic silver finish.
4) Creating templates
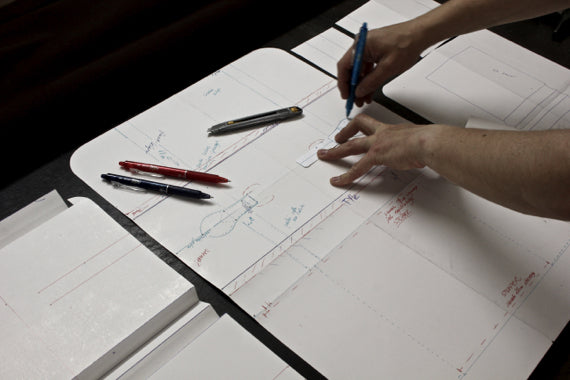
Templates are carton patterns created for each bespoke project. The templates are made in 1:1 scale and helps to understand exactly how much leathers and materials will be needed. The templates includes all technical and practical information needed for the craftsman to proceed with his work. If any later adjustments has to be done on the project, they are also done on the templates in order to be able to duplicate the project if needed.
5) Template fitting
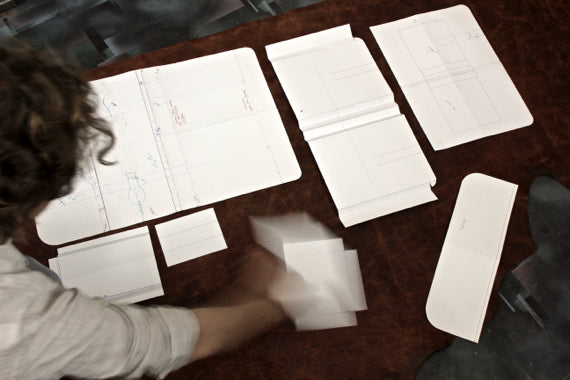
After the templates have been done, they are placed on the leather surface and puzzled around in search for the optimal composition. The composition should be economical, but above all take into account quality matters and the beauty of the leather. For instance the neck, rear, back and sides of the animal all have different characteristics and some parts are also considered more aesthetic. Stretchable and especially durable parts should be used for handles and trimmings.
6) Cutting
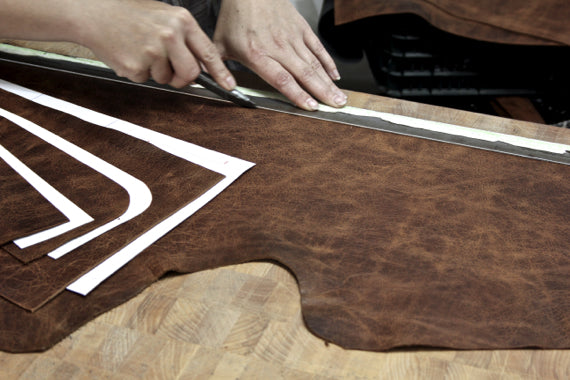
When the template composition is definite, the leather is being precisely cut according to the templates. The cutting is a tough work that requires much strength, while leathers have up to 3 millimeters in thickness. The most difficult parts in cutting are curves, small details and stretchable leathers. Under certain circumstances special cutting matrixes, made by an iron worker, are used to precisely cut difficult shapes and recurring templates.
7) Pre-tanning and creaming
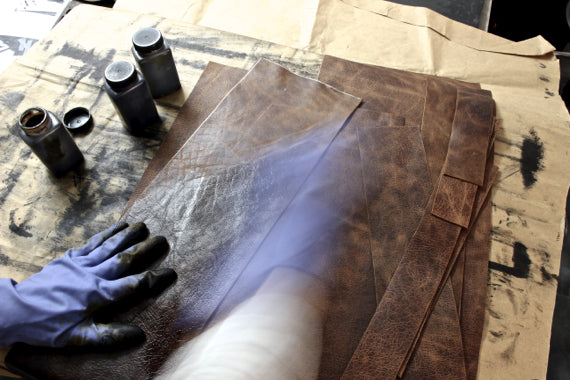
Bags and accessories that are intended to be tanned or dyed are usually pre-tanned at an early stage, preferably when all parts are cut. The tanning is made with solid, spirit based colors that stick to the leather for a lifetime. Creaming is neccesary to keep the leather flexible and to fix the tanning.
8) Adjusting leather thickness
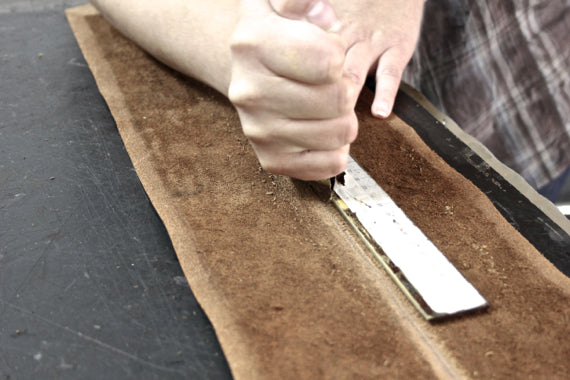
Cow leathers for bags comes in thicknesses between 1,2-2,0 millimeters from the tannery. Exotic leathers differs much more in thickness, commonly ranging between 0,4-3,0 millimeters. Thin leathers becomes strong by gluing them to supportive leathers. However, a well made bag should not be made from single thickness elements. For instance, a bag bottom should be made from a thick leather to make the bag resistant and to obtain balance, while other parts may be thinner to reduce the total weight. Small accessories and bag interiors sometimes need leathers as thin as 0,2-0,6 millimeters. The thickness of the elements is adjusted using a special leather splitting machine.
9) Scarfing
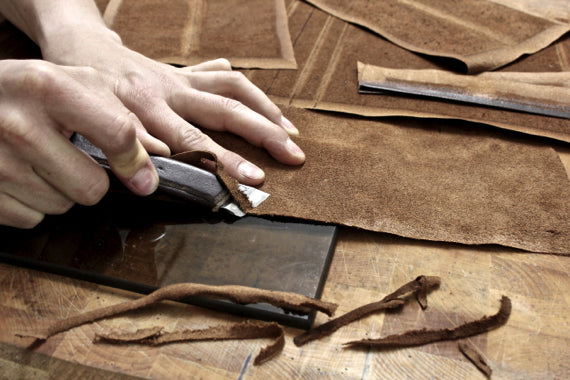
When the elements have obtained the right thickness, their edges are scarfed. The scarfing is done with a scarfing machine or by hand by using very sharp scarfing knifes.
10) Stamping
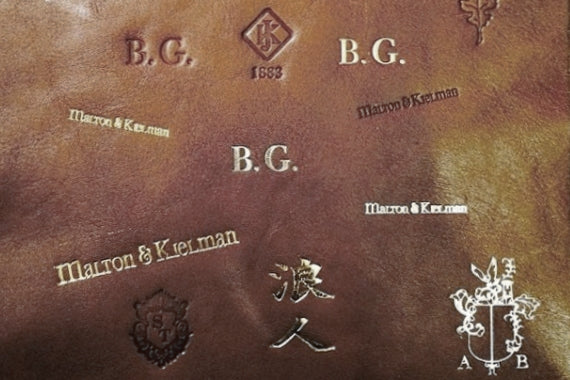
Stamping logotypes, heralds, initials and monograms is preferably done on elements, but can also be done on a finished product, for example like initials are added to a ready bag. Stamping is done with a stamping machine at temperatures between 100° and 250° C. A stamp can have a color, but the most popular options are dry, silver and gold.
11) Painting edges
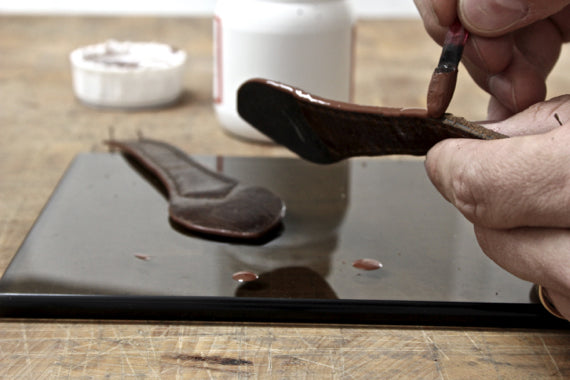
Sharp cut edges are painted in order to protect them from water and dust as well as to give them a smooth look. The edge color is chosen to fit to the leather, but also contrast colors can be requested and are then composed individually. Edges are painted and sharpened several times before they achieve their fine, smooth-rounded surface.
12) Sewing
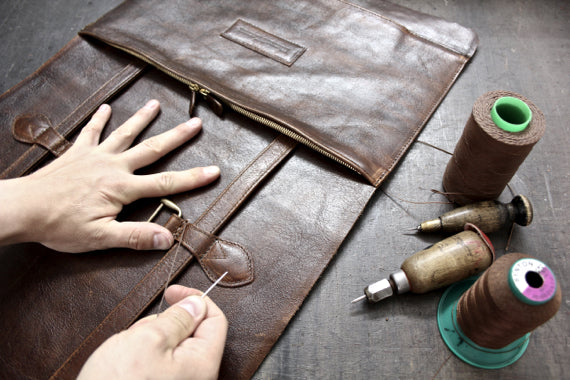
The sewing is done in several steps as the work proceeds, by hand as well as by machine. Parts requiring additional strength, thicker or waxed threads, are sewn by hand, while other parts, long elements like shoulder belts and interior materials, are sewn by machine. Right before sewing, the elements are glued together, making the stitches lasting as the glue also to the threads.
13) Creating pockets
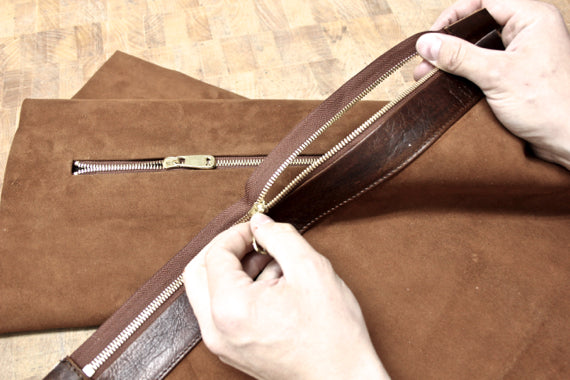
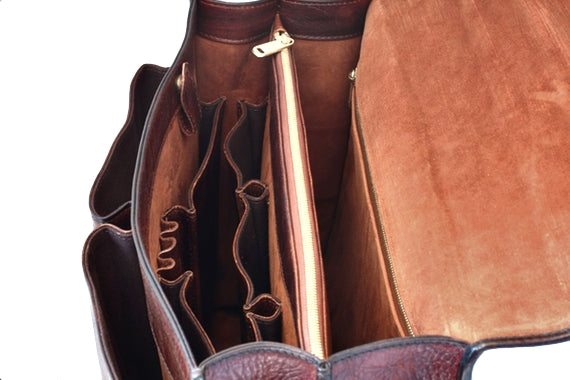
There are several different types of pockets for bags, briefcases, wallets and accessories. Dependent on the type, the pockets are prepared differently. Zipper pockets gets durable linings like calf, suede, thick canvas or raw suede. Laptop pockets are padded with a protection foam. Other bag pockets are flat or have individual depth to perfectly fit for instance chargers, books or documents. Bag pockets are lined with either leather the materials mentioned above.
14) Assembling exterior and interior
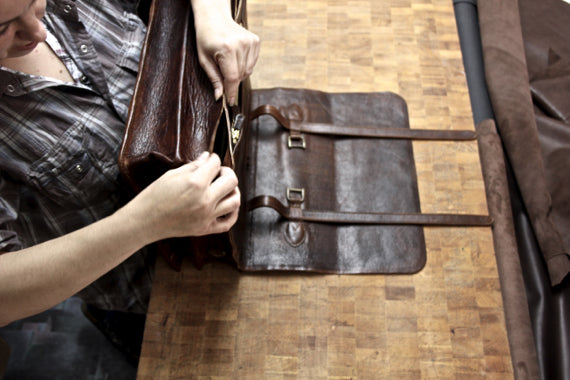
When the exterior and the interior are fully prepared, they are ready to merge by being glued and sewn together. Some bags are sewn inside out, and are then distorted at the end. This technique is appropriate for soft bags and for leathers that can be wrinkled without leaving marks.
15) Trimmings
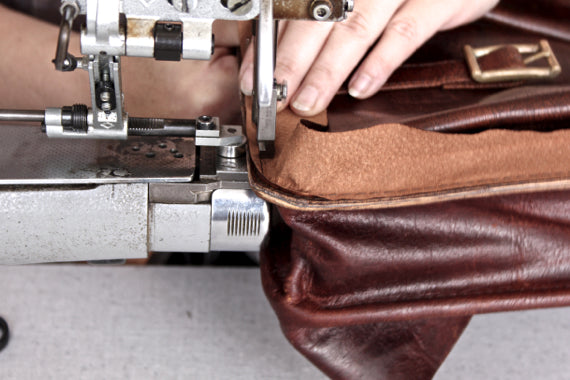
For most bags, briefcases and accessories that are not sewed inside out, trimmings are attached to their edges. Trimmings are much exposed to wear and tear and should therefore be made from the most durable kind of leathers. After the trimmings has been sewn, their backside is carefully cut to remove extensional leather. The trimmings are constructed so that they can be replaced at any time during the bag's lifetime.
16) Handles and decoration
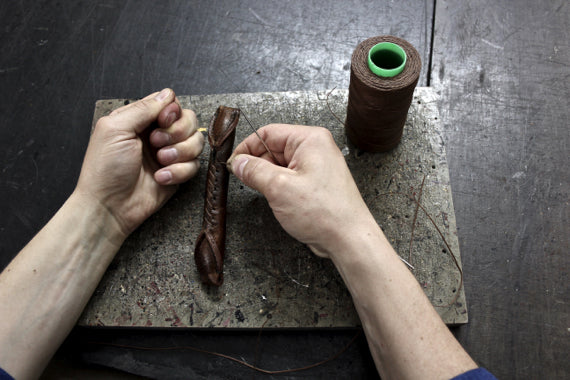
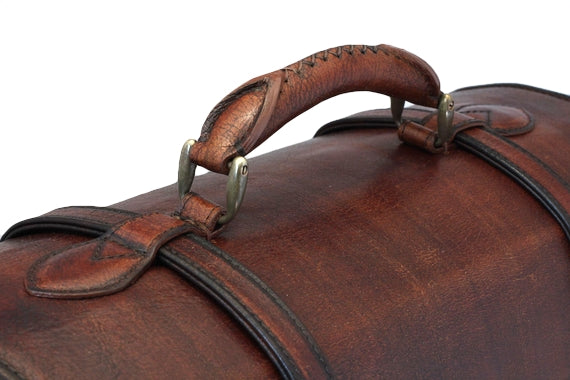
Handles and decorative parts like tassels are made at the very end. They require stitching by hand and very precise work and are therefore solely made by hand.
17) Second tanning and creaming
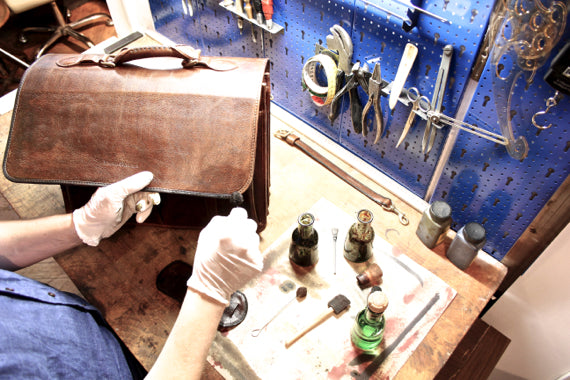
At the very end, the bag can be given a second patina and again be treaten with color dyes. Each product is creamed with a transparent or colored cream that moistures both the leather and the stiches, making the leather and the threads to last longer.
The finished bag
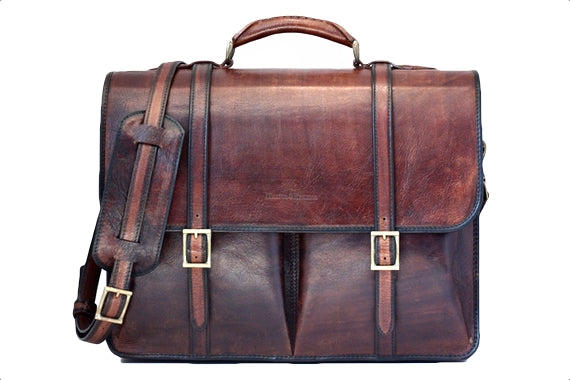
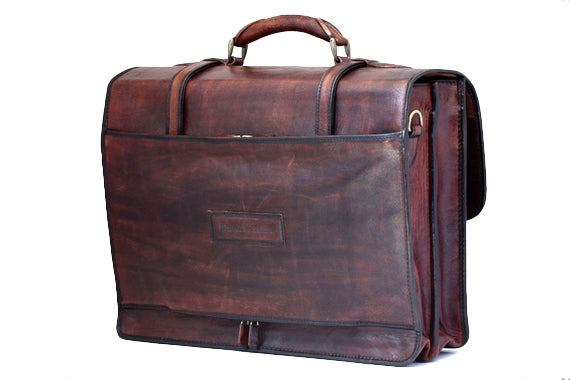
The end result is a truly handmade bag, made with traditional leather crafting methods.
